

-
Welcome to 4Runners.com!
You are currently viewing as a guest! To get full-access, you need to register for a FREE account.
As a registered member, you’ll be able to:- Participate in all 4Runner discussion topics
- Transfer over your build thread from a different forum to this one
- Communicate privately with other 4Runner owners from around the world
- Post your own photos in our Members Gallery
- Access all special features of the site
 2006 JBL no sound
 Torque Specs
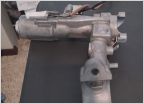 I unknowingly let a drug addict mess with my ignition, PLEASE HELP!
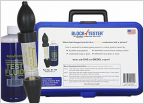 What Years Have Rust Problems?
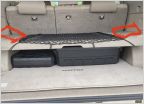 What do you put in the wheel well cubbies?
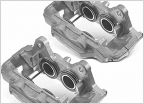 Brake Job Help Plz!!
Installing Wheel Bearing Assembly
Discussion in '4th Gen 4Runners (2003-2009)' started by wnelax04sr5, Sep 28, 2014.
Page 1 of 2
Page 1 of 2
Products Discussed in


