-
Welcome to 4Runners.com!
You are currently viewing as a guest! To get full-access, you need to register for a FREE account.
As a registered member, you’ll be able to:- Participate in all 4Runner discussion topics
- Transfer over your build thread from a different forum to this one
- Communicate privately with other 4Runner owners from around the world
- Post your own photos in our Members Gallery
- Access all special features of the site
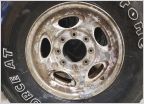 Aluminum wheel restoration
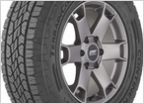 Next tire after the Bridgestone dueler HT 684
 2021+ Pro wheel part #
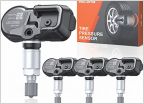 Tire pressure monitor sensors for 2018 SR5
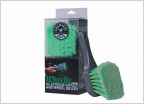 Trd pro wheel cleaner
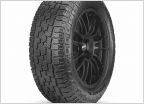 Recommend which tire? for snow/rain weather and light off road
Jacking point for tire rotation
Discussion in 'Wheels & Tires' started by 4Runner22, Aug 12, 2020.