

-
Welcome to 4Runners.com!
You are currently viewing as a guest! To get full-access, you need to register for a FREE account.
As a registered member, you’ll be able to:- Participate in all 4Runner discussion topics
- Transfer over your build thread from a different forum to this one
- Communicate privately with other 4Runner owners from around the world
- Post your own photos in our Members Gallery
- Access all special features of the site
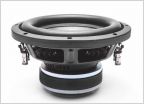 Rear subwoofer replacement help needed
 Where to buy 4th gen front license plate bracket?
 DIY repairs for failed clear coat on roof
 Front end noise help!
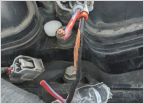 SOLVED: V6 code P0301 caused by rodent eaten injector wires
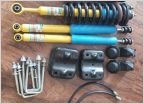 Lift with 3rd Generation Tacoma Coils and Shocks
How To: Reverse Lights (In Reflectors/Under the bumper)
Discussion in '4th Gen 4Runners (2003-2009)' started by wnelax04sr5, Jan 28, 2015.


