

-
Welcome to 4Runners.com!
You are currently viewing as a guest! To get full-access, you need to register for a FREE account.
As a registered member, you’ll be able to:- Participate in all 4Runner discussion topics
- Transfer over your build thread from a different forum to this one
- Communicate privately with other 4Runner owners from around the world
- Post your own photos in our Members Gallery
- Access all special features of the site
 Feeeback on wiring
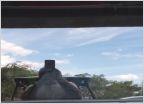 03 3rd Brake Light In The Wing
 Off road light suggestions?
 Change DRL lights to amber?
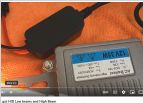 Let's talk about headlights...
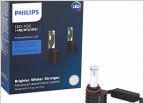 Philips LED fog bulbs
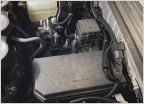
Engine Bay LED Lighting w/ Switch
Discussion in 'Lighting' started by Bluesky 07, Oct 31, 2023.
Products Discussed in


