

-
Welcome to 4Runners.com!
You are currently viewing as a guest! To get full-access, you need to register for a FREE account.
As a registered member, you’ll be able to:- Participate in all 4Runner discussion topics
- Transfer over your build thread from a different forum to this one
- Communicate privately with other 4Runner owners from around the world
- Post your own photos in our Members Gallery
- Access all special features of the site
 '04 rear hatch won't close
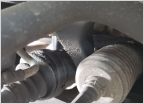 Differential Leak
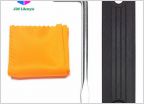
 OEM Gas cap for 2006 4runner (SR5)
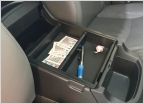 Center console tray and divider for 2003-09 4Runner
 Coolant Leak
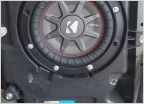 Replacement woofer on stock JBL in my gen4
SOLVED: V6 code P0301 caused by rodent eaten injector wires
Discussion in '4th Gen 4Runners (2003-2009)' started by rickst29, Dec 26, 2023.
Products Discussed in


