

-
Welcome to 4Runners.com!
You are currently viewing as a guest! To get full-access, you need to register for a FREE account.
As a registered member, you’ll be able to:- Participate in all 4Runner discussion topics
- Transfer over your build thread from a different forum to this one
- Communicate privately with other 4Runner owners from around the world
- Post your own photos in our Members Gallery
- Access all special features of the site
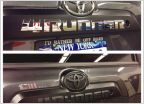 Black out logos
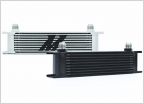 Replacing Power Steering cooler with oil cooler?
 Need Side steps/running boards
 Suggestions for steering wheel cover
 Bolts needed to reattach rear seats?
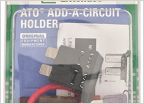 Always on power outlets - 2016 SR5
Install of the CSF All-Aluminum High-Performance Radiator
Discussion in '5th Gen 4Runners (2010-2024)' started by Cowboy59, Dec 28, 2021.

