

-
Welcome to 4Runners.com!
You are currently viewing as a guest! To get full-access, you need to register for a FREE account.
As a registered member, you’ll be able to:- Participate in all 4Runner discussion topics
- Transfer over your build thread from a different forum to this one
- Communicate privately with other 4Runner owners from around the world
- Post your own photos in our Members Gallery
- Access all special features of the site
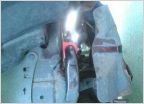 How To: Sway Bar Bushing Upgrade
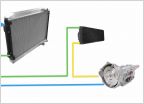 Installing Transmission Cooler - Please check my understanding
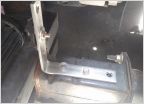 How To: Light bar in lower grille (03-05)
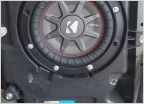 Replacement woofer on stock JBL in my gen4
 Tailgate won't open! 2004 4Runner
 15 year old 4runner. How long can they go?
CV axle seal replacement
Discussion in '4th Gen 4Runners (2003-2009)' started by Rockhoundrob, Mar 17, 2023.


