-
Welcome to 4Runners.com!
You are currently viewing as a guest! To get full-access, you need to register for a FREE account.
As a registered member, you’ll be able to:- Participate in all 4Runner discussion topics
- Transfer over your build thread from a different forum to this one
- Communicate privately with other 4Runner owners from around the world
- Post your own photos in our Members Gallery
- Access all special features of the site
 How do you swap Kings springs ?
 2023 SR5 remote start
 TRD pro wheels, how to keep clean?!??
 Inexpensive Roof Rack/Cross Members for Kayaks
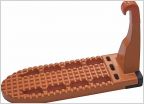 Ladders
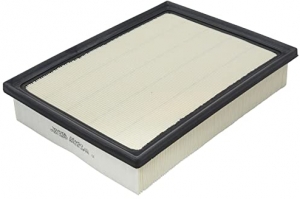
 Part identification 5th Gen
SR5 Crawl Control / MTS Mod Success!
Discussion in '5th Gen 4Runners (2010-2024)' started by ripprunner, Aug 25, 2025 at 8:39 PM.