

-
Welcome to 4Runners.com!
You are currently viewing as a guest! To get full-access, you need to register for a FREE account.
As a registered member, you’ll be able to:- Participate in all 4Runner discussion topics
- Transfer over your build thread from a different forum to this one
- Communicate privately with other 4Runner owners from around the world
- Post your own photos in our Members Gallery
- Access all special features of the site
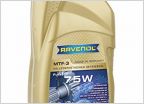 What GL rating should the transfer case gear oil have?
 Black paint polishing
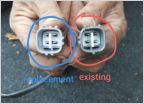 O2 sensor plug mystery
 2002 T4R Sport front end rebuild
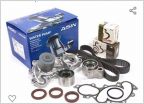 Help! Budget friendly, reliable Timing Belt kit
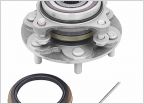 Wah wah noise?
Installing Savage Rear Bumper w/Swingout - **Pictures!**
Discussion in '3rd Gen 4Runners (1996-2002)' started by ramonortiz55, Oct 12, 2016.


